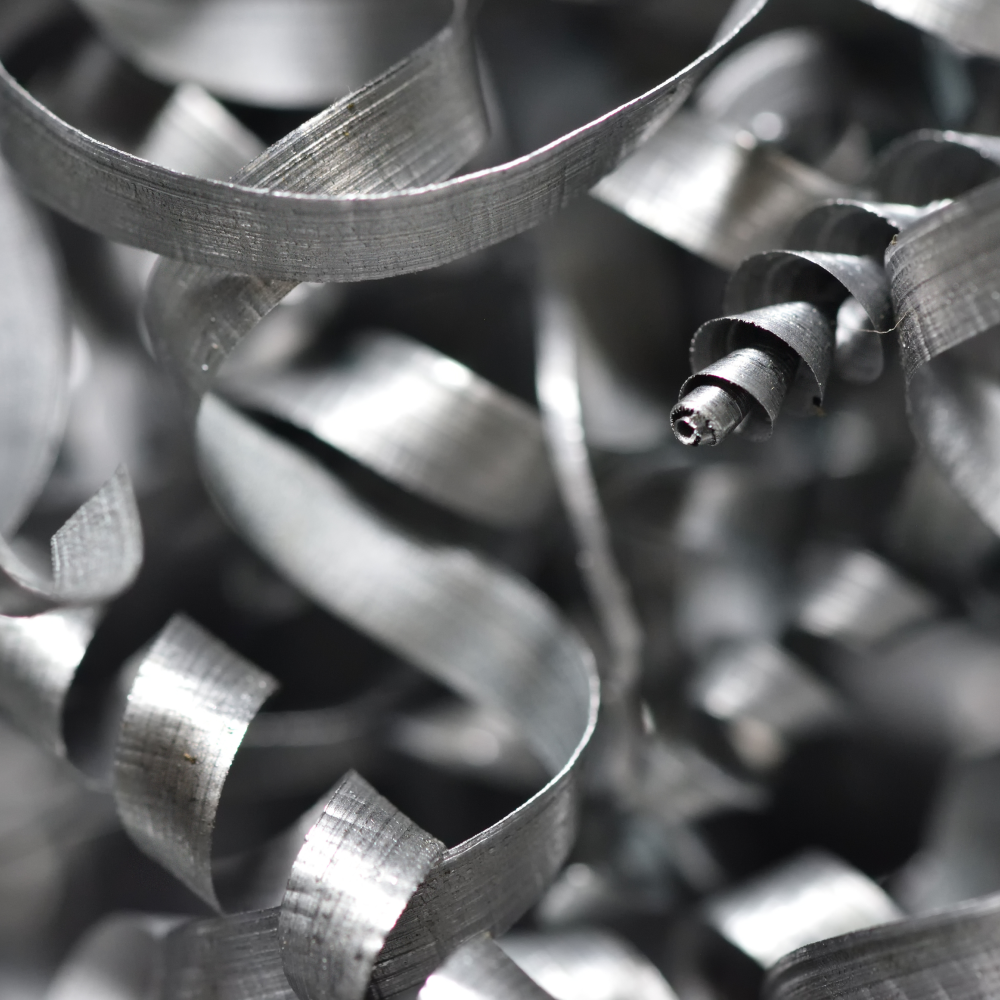



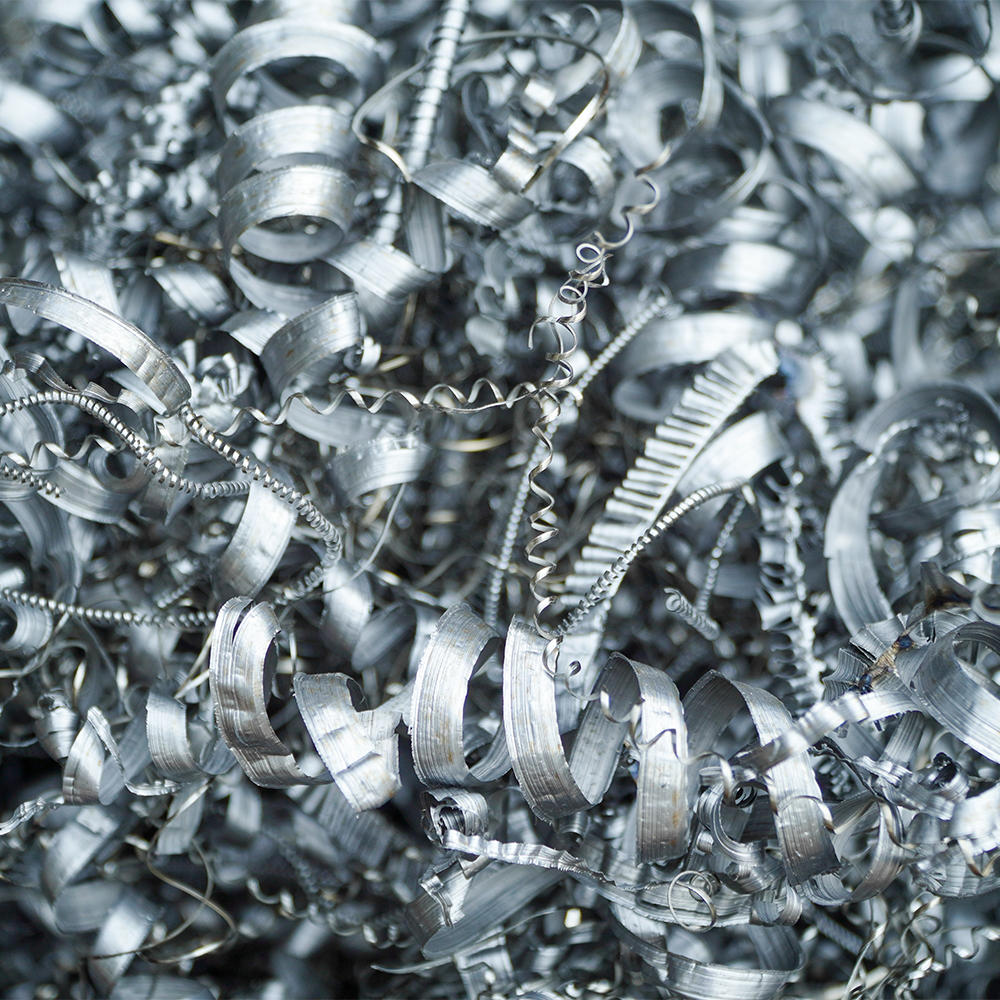
Long, stringy nests of material wrapped around your machine tools can be dangerous for operators and damage parts. Plastic and Aluminum naturally want to create a rat’s nest of chips and need to be handled differently than steels. While the fundamental goal is to have a clean cutting action in the workpiece, managing chips in plastics requires a different approach than managing chips in aluminum.
How to Break Chips in Plastics
Plastics usually need a different chip-control strategy than metals. Instead of trying to fracture the chip, your primary goal is to keep the material from wrapping, packing, or melting back into the cut. You achieve this by keeping the tool sharp, using the correct geometry, and finding a feed, speed, and depth of cut (DOC) combination that makes the chip curl and clear instead of smearing or re-cutting.
What Works Best for Plastics
- Use very sharp tools: Choose tools with plenty of clearance and a polished cutting edge. Dull or heavily honed edges will generate heat and deflection in the workpiece.
- Increase the feed rate: Step up the feed enough to form a real chip. A feed that is too light often creates ribbon-like stringers or smeared chips. Even if the chip cannot be broken completely, a thicker chip is usually easier to manage.
- Keep the heat down: Use proper coolant, air, or chip evacuation, so the chip does not soften and cling to the tool or workpiece.
- Use smart toolpath strategies: Program toolpaths that periodically unload the cut to force a chip breakage. This includes brief pauses, retracts, or deeper cleanup passes when your process allows it.
The Target for Plastics: Aim for short curls or easily evacuated strings, and do not let wrapped nests form.
Material Differences in Plastics
Different plastics behave uniquely during machining:
- Soft and ductile plastics, such as Delrin, Nylon and UHMW: These materials tend to make long, stringy chips and require highly careful chip evacuation. Depending on the geometry and finish requirements, you may not be able to break the chip at all and may need to instead control the flow of the chip from the cut.
- Brittle plastics: These can chip more readily, but they may also crack or chip the part edge if your tool geometry is too aggressive.
- Transparent or heat-sensitive plastics: These materials require the absolute most attention to tool sharpness and heat control.
Lathe Setup for Plastics
When turning plastics on a lathe, start with a sharp positive-rake tool, a clean honed edge, and a feed rate high enough to avoid rubbing. If the chip remains stringy, slightly increase the feed before you change the speed. Use directed coolant or air to keep chips from wrapping around the part.
If your finish pass still creates long unmanageable chips, some shops opt for a separate cleanup strategy rather than forcing the finish tool to do the finish work.
Drilling and Milling Notes for Plastics
- In drilling: Chip evacuation matters more than chip breaking alone. Implementing pecking cycles to break and clear chips, and using through-tool coolant or air can make a big difference.
- In milling: Keeping sharp cutters and a chip-clear path is most important, since the cutting action will naturally produce short chips.
- Avoid dwelling: Never let the tool dwell or just sit. Dwelling heats up plastics very fast, causing chips to weld directly back onto the tool or the part.
How to Break Chips in Aluminum
Aluminum chip breaking comes down to using the right insert geometry, enough feed, and enough depth of cut (DOC) to force the chip into the tool’s chip breaker window.
Why Aluminum is Tricky
Aluminum is inherently gummy. This means the chip prefers to flow rather than fracture, especially at low feed rates or when using a dull edge. Because of this, aluminum-specific inserts feature a sharper, more open geometry and polished surfaces to reduce built-up edge and keep the chip moving. If chips are wrapping around the tool or the part, your process is not loading the breaker correctly.
What Works Best for Aluminum
- Select the right insert: Start with a sharp, positive-rake insert specifically made for aluminum or non-ferrous work. An uncoated aluminum insert is the best starting point.
- Step up the feed: Increase the feed per revolution in small steps. Aluminum often requires a more aggressive feed than people expect to form a breakable chip. Increase the feed until the chip stops coming off as a long string.
- Watch your DOC: Stay within the chipbreaker’s designated DOC range. Very light finishing cuts often produce bird nests instead of broken chips.
- Enhance evacuation: Use high-pressure coolant or strong chip evacuation when the part geometry allows for it.
Practical Lathe Setup for Aluminum
For turning, a ground, uncoated, sharp-edge insert combined with a confident, non-timid feed rate is a great first move. If the chips remain long, increase the DOC before making the cut lighter. A DOC that is too small makes the chip too thin to break. You can also use toolpaths that create an interrupted cut or a periodic chip release when dealing with difficult part geometries.
How High-Pressure Coolant Forces Chips to Fracture
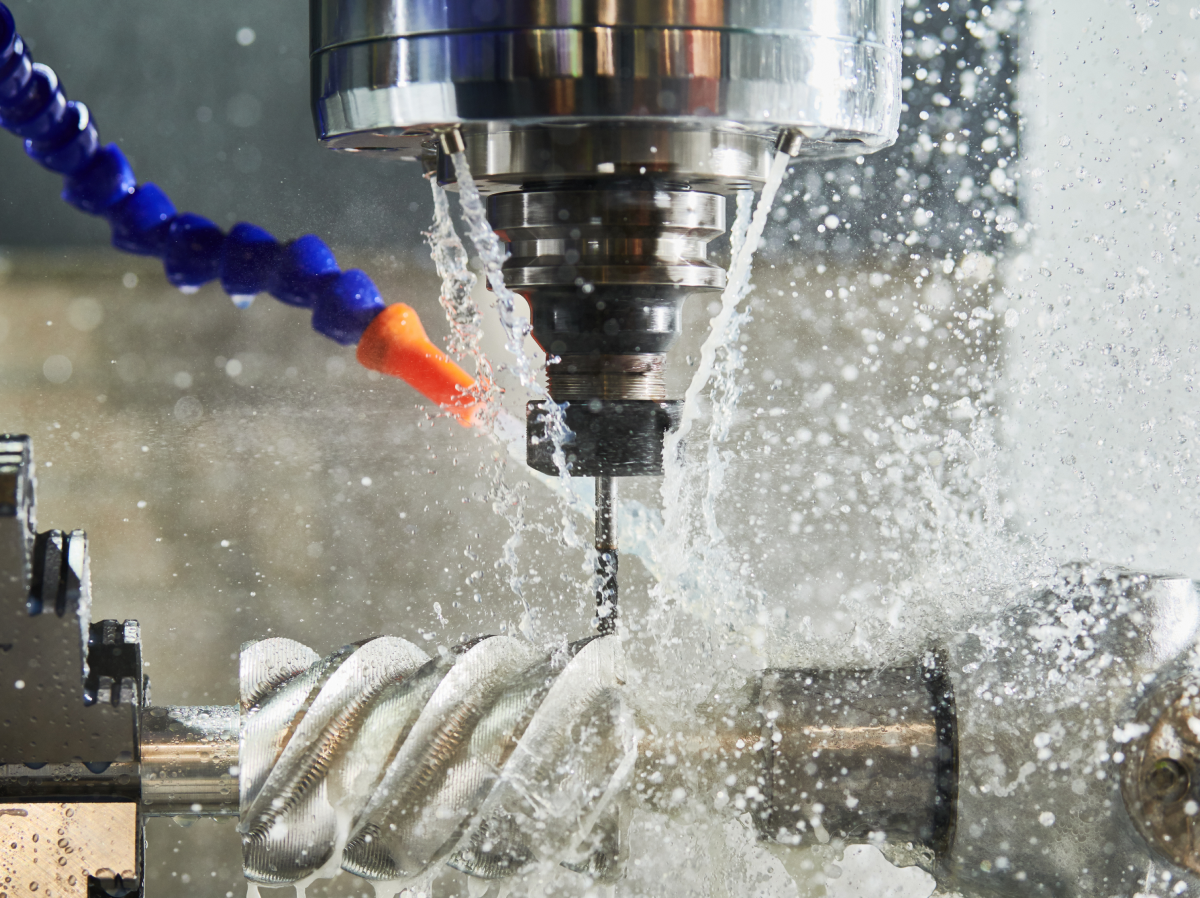
High-pressure coolant assists chip fracture in aluminum by executing two actions simultaneously: it cools the chip, making it less ductile, and it mechanically forces the chip to curl harder against the chipbreaker until it snaps.
What is Happening at the Cut?
The high-pressure coolant jet acts like a physical wedge right at the chip-tool interface. This wedge alters the chip’s curl, allowing the chipbreaker to function effectively over a much wider operating range.
At the same time, the sudden blast of coolant drops the temperature of the chip. Lowering the heat makes the aluminum slightly more brittle and easier to separate. Because of this mechanical and thermal assistance, chips that would normally come off as long, continuous strings are pushed into short curls or broken apart consistently.
Why Aluminum Responds Well
Aluminum naturally creates continuous, sticky chips, particularly when heat builds up and the tool face starts to load. High-pressure coolant counteracts this tendency by reducing material adhesion and flushing the chips away completely, before they can wrap around the tool or get caught and welded to the part. This flushing action is why machine shops often see an immediate difference in chip control even when keeping the exact same insert geometry.
The Limits of Coolant Pressure
High-pressure coolant is a powerful tool, but it is not magic. If your feed rate is too low or your chipbreaker geometry is incorrect, the chip may still refuse to break. Coolant assistance works best when your tool, feed, and DOC are already configured close to the chipbreaker’s intended operating range. Furthermore, the coolant lines must be aimed accurately into the cutting zone; otherwise, the high pressure will mostly just create a mess in the machine enclosure.
Fast Troubleshooting Checklist for Aluminum
- Confirm the insert is an aluminum grade.
- Increase the feed rate by 10% to 15% at a time.
- Increase the DOC if the chip is still too thin.
- Add coolant pressure or use an air blast for better evacuation.
Plastics vs. Aluminum Chip Control
| Factor | Strategy for Plastics | Strategy for Aluminum |
| Primary Goal | Prevent wrapping, packing, and melting; get the chip to curl and clear. | Force the chip into the breaker window so it fractures or create manageable spring shaped chips. |
| Tool Choice | Very sharp tools with plenty of clearance and a polished cutting edge. | Sharp, positive-rake uncoated insert built for non-ferrous work. |
| Troubleshooting Step | Increase feed slightly before changing speed; use directed coolant/air to prevent wrapping. | Increase feed 10% to 15% at a time; increase DOC if the chip is too thin. |
| Ideal Output | Short curls or easily evacuated strings. | Short curls or manageable springs (avoid ribbons/bird nests). |
Want to learn more? Check out our article on How to Break Chips in Stainless Steel. It will also give you strategies on how you can break chips during threading.