


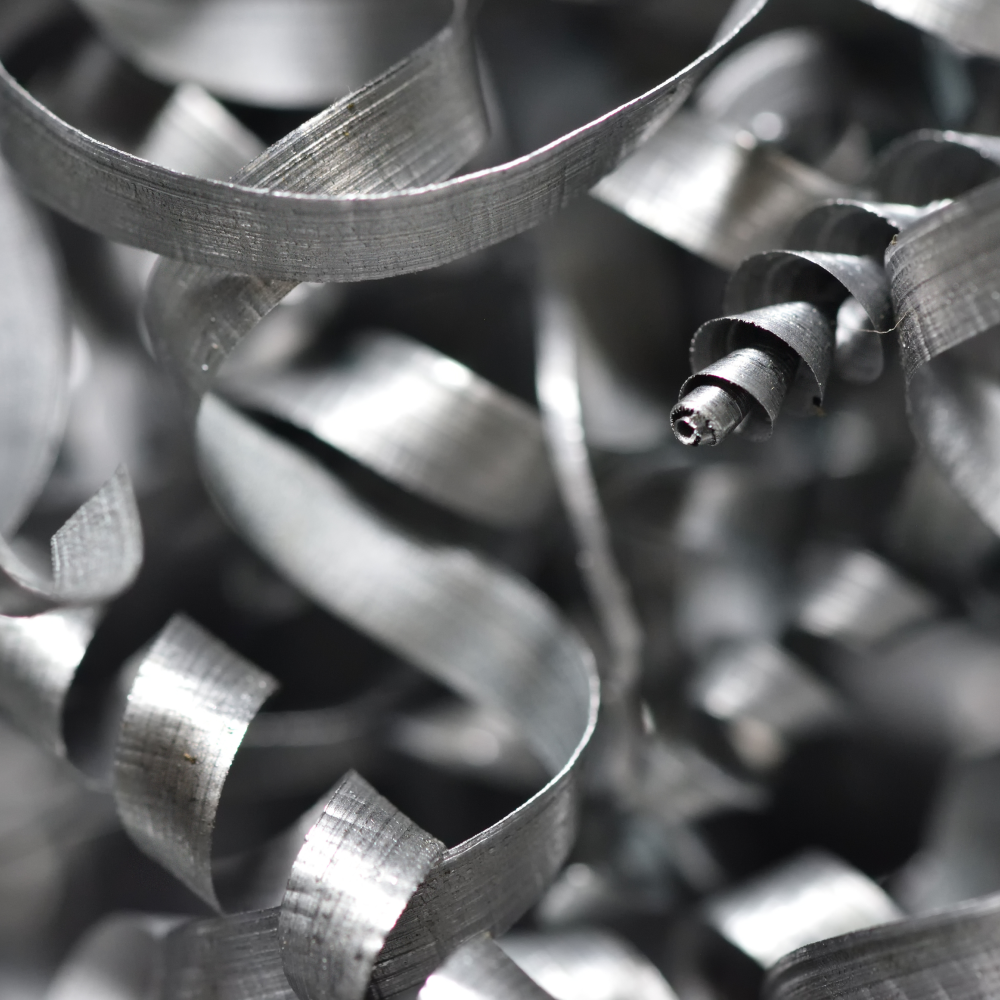
When long metal chips wrap around your tooling, chuck, or workpiece, you are dealing with bird nesting. This happens when a chip is too long, too thin, or isn’t clearing the cutting area fast enough. Instead of breaking cleanly, the metal stretches and tangles into a mess.
Fixing bird nesting comes down to three main goals: thickening the chip, engaging the chipbreaker properly, and removing the chip from the cutting zone before it has a chance to wrap.
Warning Signs to Watch For
Bird nesting creates several clear warning signs during a cut.
Keep an eye and ear out for these setup clues:
- Crunching sounds coming directly from the machine.
- Continuous ribbons or long, irregular strings instead of short curls.
- Chips wrapping around the insert, chuck, or workpiece.
- Chip jamming or packing in the flute or pocket, which interrupts cutting action or coolant flow.
- Unexpectedly high tool load, chatter, or accelerated flank wear caused by poor chip evacuation.
- Poor surface finishes and burrs forming at the entry or exit points of the cut.
Troubleshooting Order for Nesting Chips
If you spot any of these warning signs, follow this step-by-step order to fix your process:
- Check Insert Geometry or Drill Style: Confirm that your tool and chipbreaker are meant for the specific material you are cutting.
- Increase Feed Before Reducing Speed: Raise your feed per revolution or feed per tooth. This makes the chip thick enough to break on its own instead of stretching.
- Confirm and Raise Depth of Cut (DOC): Increasing your depth of cut gets the chip fully engaged inside its intended chipbreaker window.
- Add Evacuation Help: Improve how chips leave the cut using the correct coolant concentration, better coolant delivery, higher coolant pressure, or through-tool coolant where applicable.
Operation Notes for Drilling and Turning
- Drilling: Use chip-break cycles only when needed. A slight retract or dwell during drilling helps clear chips if nesting continues.
- Turning: A more square chip-break relief or a better insert breaker forces the chip to form a tighter, spring-like shape that resists wading up.
Evaluating Your Chips: Too Light vs. Too Aggressive
The shape of your chips tells you exactly what is happening at the cutting edge. Use this guide to adjust your setup:
- Long, Stringy Ribbons or Nests: Your setup is usually too light in feed, depth of cut, or both for that breaker. It can also mean your insert geometry is not right for the material.
- Powdery, Overly Short Fragments: The breaker is likely too aggressive for your current cut.
- Short Cs, 9s, or Tight Curls (Ideal Process): This is what you want. Chips should always come off as short Cs, 9s, or tight curls—never as long strings or nests.
The Danger of Over-Correction
Be careful not to make your chip breaking too aggressive. If the chipbreaker is pushed too hard, chips break into very short fragments that stick together or overload the cutting edge. This opposite failure mode reduces tool life and can even break the insert.
Shop Floor Takeaway
For a reliable starting sequence on the shop floor, follow this basic rule:
- Pick the correct breaker for your material first.
- Set your depth of cut at or just above its minimum range.
- Tune your feed until the chip curls tightly enough to break.
- Choose and maintain coolant as required by the material being machined and the tooling being used.
Keep in mind that for finishing passes, you often need a completely different finishing-style chipbreaker rather than trying to force a roughing breaker to work at a light depth of cut.